Microfusion or lost-wax casting is one of the most widely used manufacturing methods in the jewellery industry and is the oldest known casting process.
Casting allows metal replicas to be obtained by means of a mould that is made from a prototype traditionally modelled in wax. In this case, 3D printed parts with burn-out resins are used to replace the wax models.
Jewellery can be made from a variety of metals, including gold, platinum, silver and brass, using the casting process. Below you can see the microfusion process for jewellery from 3D printed pieces with burn-out resins:
1- 3D printing of the part
Based on designs created using CAD software, the desired models must be 3D printed. There are currently a large number of calcineable resins available from different manufacturers. The use of one material or another depends on the 3D printer used and the characteristics required for the parts.
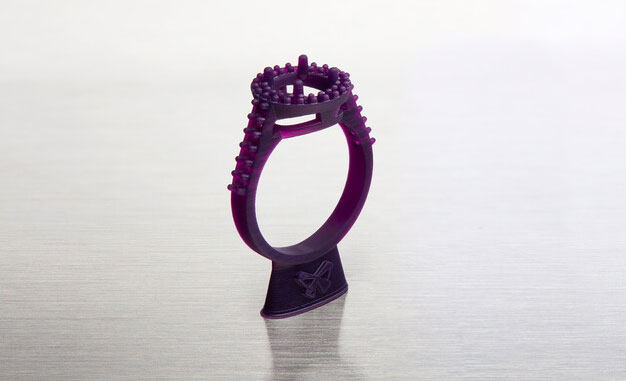
Image 1: 3D printed ring with FormLabs burn-out resin. Source: FormLabs.
One of the most popular 3D printers for 3D printing in the jewellery sector is the Form3 from the renowned manufacturer FormLabs. This 3D printer does not require advanced technical knowledge and can therefore be used without difficulty. The Form3 3D printer limits its use by only supporting materials developed by the manufacturer. This can be an advantage, as no set-up is required and the configuration parameters and modifiable values are reduced to a minimum, with only the material type and a few basic parameters to be selected. This reduces the margin of error to a minimum.
The following table shows some of the most popular burnable resins and their compatibility with 3D printers:
| Resin | Manufacturer | Technology | Compatibility |
|---|---|---|---|
| Castable Wax | FormLabs | SLA | Form 2, Form 3, Form 3L, Form3+ |
| Castable Wax 40 | FormLabs | SLA | Form 2, Form 3, Form 3L, Form3+ |
| zWax Amber | UniZ | LCD | Slash, Slash 2, Slash 2 Plus, Slash 2 Pro |
| zWax Purple | UniZ | LCD | Slash, Slash 2, Slash 2 Plus, Slash 2 Pro |
| Bluecast original | Zortrax | LCD | UniZ, WANHAO, zortrax, ANYCUBIC, ASIGA, B9 Creator, FLASH FORGE Moon Ray, Prusa. |
| Bluecast X5 | Zortrax | LCD | UniZ, WANHAO, zortrax, ANYCUBIC, ASIGA, B9 Creator, FLASH FORGE Moon Ray, Prusa. |
| Bluecast X10 | Zortrax | LCD | UniZ, WANHAO, zortrax, ANYCUBIC, ASIGA, B9 Creator, FLASH FORGE Moon Ray, Prusa. |
| Dental Cast | Harz Labs | LCD | Formlabs, PEOPOLY, UniZ, WANHAO, zortrax, ANYCUBIC, ASIGA, B9 Creator, FLASH FORGE Moon Ray, Prusa. |
Table 1: Burn-out resins and compatibility. Source: Filament2print.
Each material has different properties and requires different parameters. However, they all have a common characteristic: they have been developed to replace wax parts in the microfusion process, with a composition that achieves castings free of residues that could affect the final result of the parts.
Once the parts have been printed, they must be cured if the material requires it. This depends on the composition of the resin and the manufacturer's advice should always be followed to achieve an optimum result.
2- Wax tree
Once the parts are cured (in cases where this step is required), the removal of the backing can be carried out, always with great care. Sandpaper (400 grit or higher) or even a rotary tool with a polishing attachment can be used to achieve total removal of the support and a perfect finish.
To create the wax tree, a wax base is taken and attached to a rubber cover of the sprue. Small cylindrical wax rods are welded to the wax base using a heat tool. The 3D printed parts are welded to the other end of the bars.
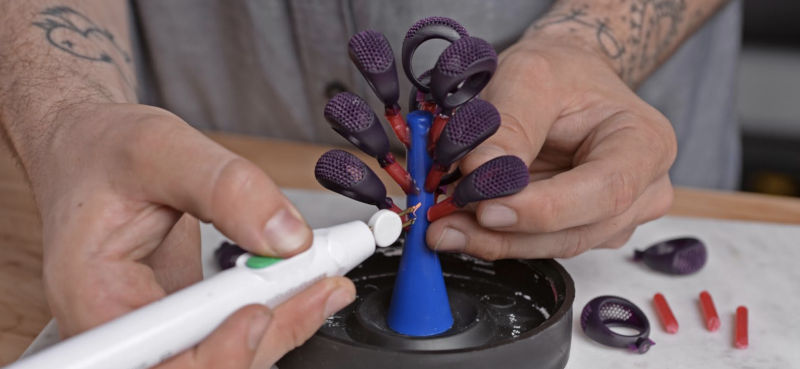
Image 2: Casting wax tree. Source: FormLabs.
This process is similar to that carried out in microfusion when casting traditionally carved wax pieces.
3- Mould preparation
The wax tree with the 3D printed parts in burn-out resin is to be placed inside a refractory steel cylinder, which is to be fitted into the rubber cylinder cover. In case the refractory steel cylinder has holes, these should be covered by wrapping the cylinder in adhesive tape.
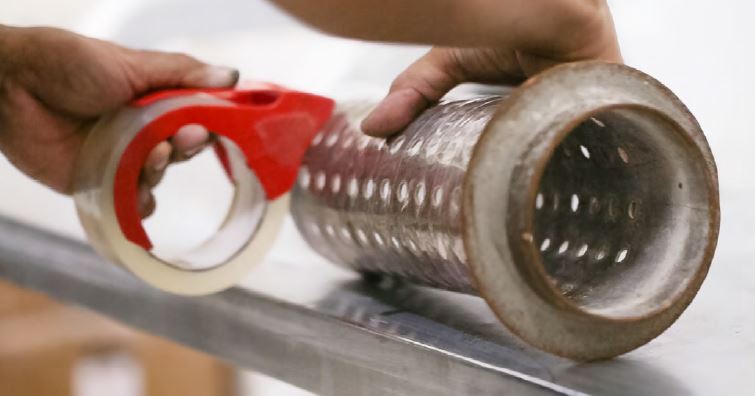
Image 3: Refractory steel cylinder shell. Source: Formlabs.
The casting must then be poured slowly, always from the side of the cylinder to avoid damaging the tree with the parts 3D printed with calcineable resin.
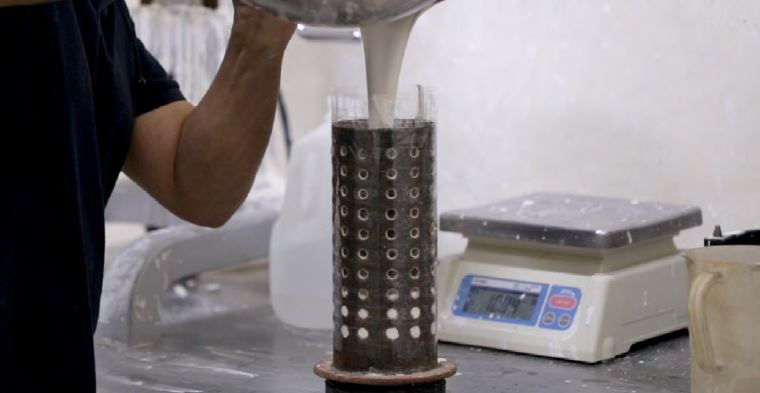
Image 4: Pouring of the casting into a refractory steel cylinder. Source: Formlabs.
When pouring the casting, it is possible that small air pockets may remain which can affect the quality of the final parts. For this reason, it is very important to carry out the degassing process in a vacuum chamber.
4- Burnout
The cylinder is placed in the oven following the time and temperature instructions recommended by the manufacturer. During this time, the wax will burn out without leaving residues, leaving the mould ready.
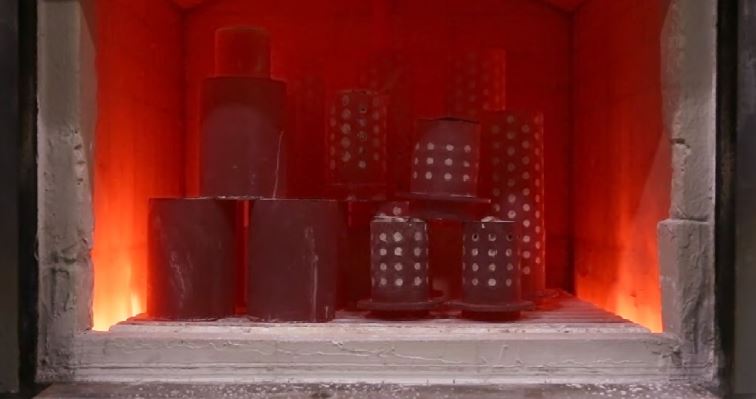
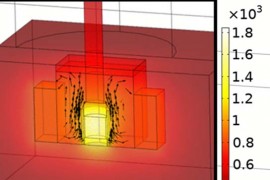
Image 5: Burnout process. Source: Formlabs.
The desired metal must then be poured into the mould to produce the final parts.
5- Washing and polishing
After casting, the mould is carefully removed from the furnace and immersed in water using tongs. During this process, the casting will melt, leaving the metal parts visible. Once washed, the metal parts are separated from the tree, polished and polished until the desired finish is achieved.
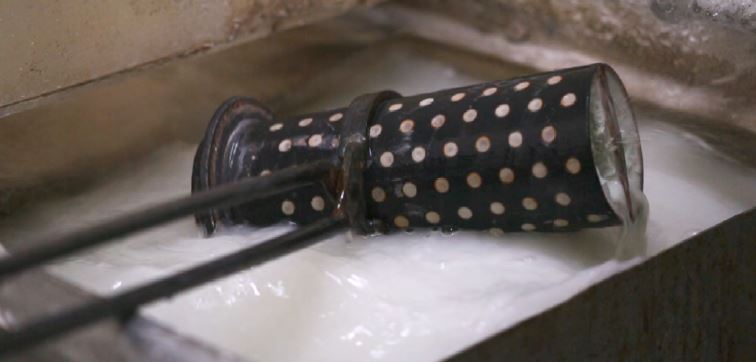
Image 6: Washing process. Source: Formlabs.
Once washed, the metal parts are separated from the tree, polished and polished to the desired finish.
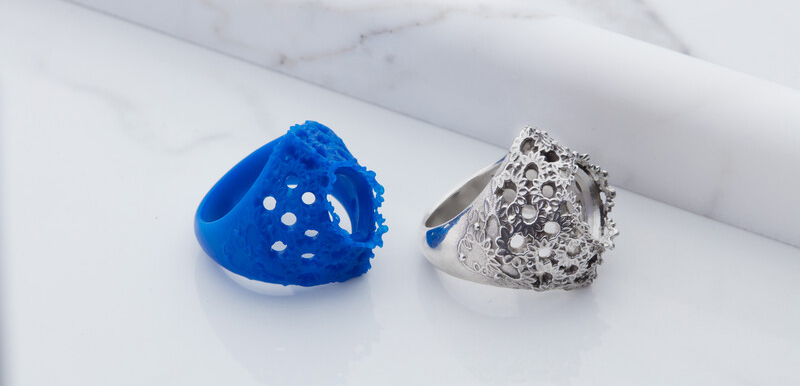
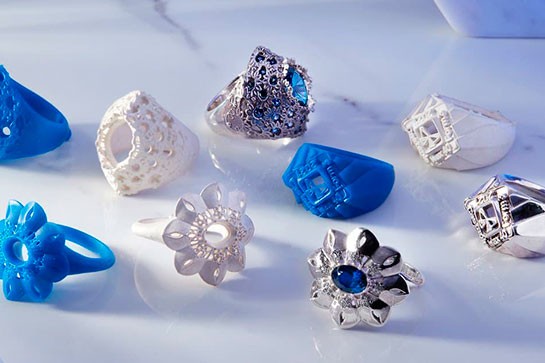
Image 7: 3D printed ring with burn-out resin and silver ring after the microfusion process. Source: Formlabs.
The use of castable resins in the jewellery sector offers numerous advantages. Among others, it allows you to 3D print as many models as you want, quickly and with extreme precision. This results in a significant reduction in costs and production times.