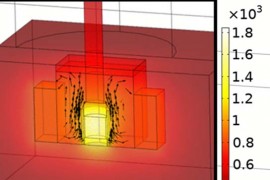
Although in general in SLS 3D printing the parts are produced solid, there are some cases in which it is necessary to hollow out the part or use infill patterns: large volumes generally produce heat build-up and have a high shrinkage on cooling, so the risk of failure is very high.
To avoid this, it is advisable to reduce the printed part volume, which can be done in two ways:
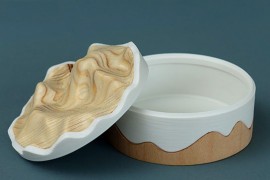
Hollowing out the part
SLS printing technology is a self-supporting technology, so it is not necessary to use infill patterns. This is why one of the most common strategies is to print hollow parts. In these cases, the wall thickness of the part will define its strength.
It is possible to leave the part with the unsintered powder inside, however, if it is desired to remove it, it will be necessary to provide escape holes in the part. These holes can be made in the design, but also mechanically in the final part.
If a single exhaust hole is used, it is recommended that its diameter is not less than 5 mm. If several holes are used, the diameter can be reduced to 3 mm.
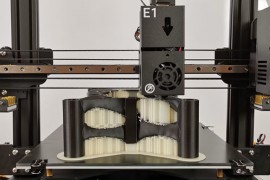
Use infill patterns
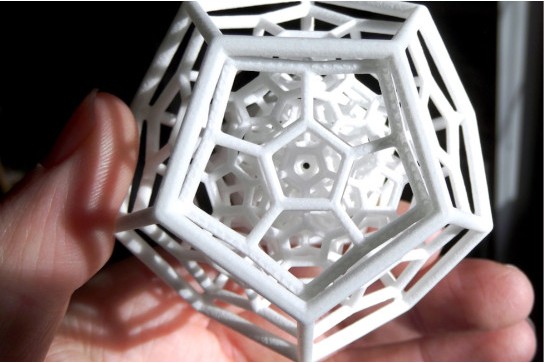
It may be the case that the hollow part does not meet the necessary mechanical requirements. In such cases, infill patterns can be used as reinforcement. The infill pattern, unlike in FDM technology, is not made during lamination, so it must be considered during part design. There are no limitations when designing patterns, so a homogeneous spatial organisation should preferably be sought to maintain the isotropy of the parts.
As in the case of hollow parts, it is possible to leave the final part with the powder trapped inside or to remove it. If removal is desired, the complexity increases as the infill pattern must have fully interconnected cells that allow the powder to migrate to the exhaust holes. These types of parts require a larger number of exhaust holes and it can be difficult to completely remove the dust from the interior.
This guide discusses concepts in a general way and does not focus on a particular brand or model, although they may be mentioned at some point. There may be important differences in calibration or adjustment procedures between different makes and models, so it is recommended that the manufacturer's manual be consulted before reading this guide.