No products
Product successfully added to your cart
0 products in the cart 1 product in the cart


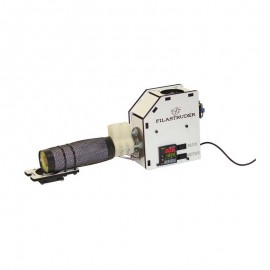
The people who produce their own filament starting from pellets with the Filastruder have the problem of having to manually wind the filament in a coil, but this problem is totally resolved thanks to Filawinder by the brand Filastruder. Filawinder is a device that automatically wraps the filament that comes out of the Filastruder, a pellet extruder that allows filaments to be produced with the characteristics they want. The operation of the Filastruder eis very simple, you just have to adjust the desired extrusion temperature, wait until it is reached in the extruder, then add thes pellets and dyes in the hopper of your choice and start the engine gears to start extrusion.
The following aspects should be highlighted in the Filawinder:
Control of winding speed
A sensor, formed by a laser light beam and a line of light sensors (array sensors), varies the speed of winding according to the position in which the filament is in the line of sensors array. In this way it adjusts the winding speed with the one of extrusion and ensures that the process is suitable.
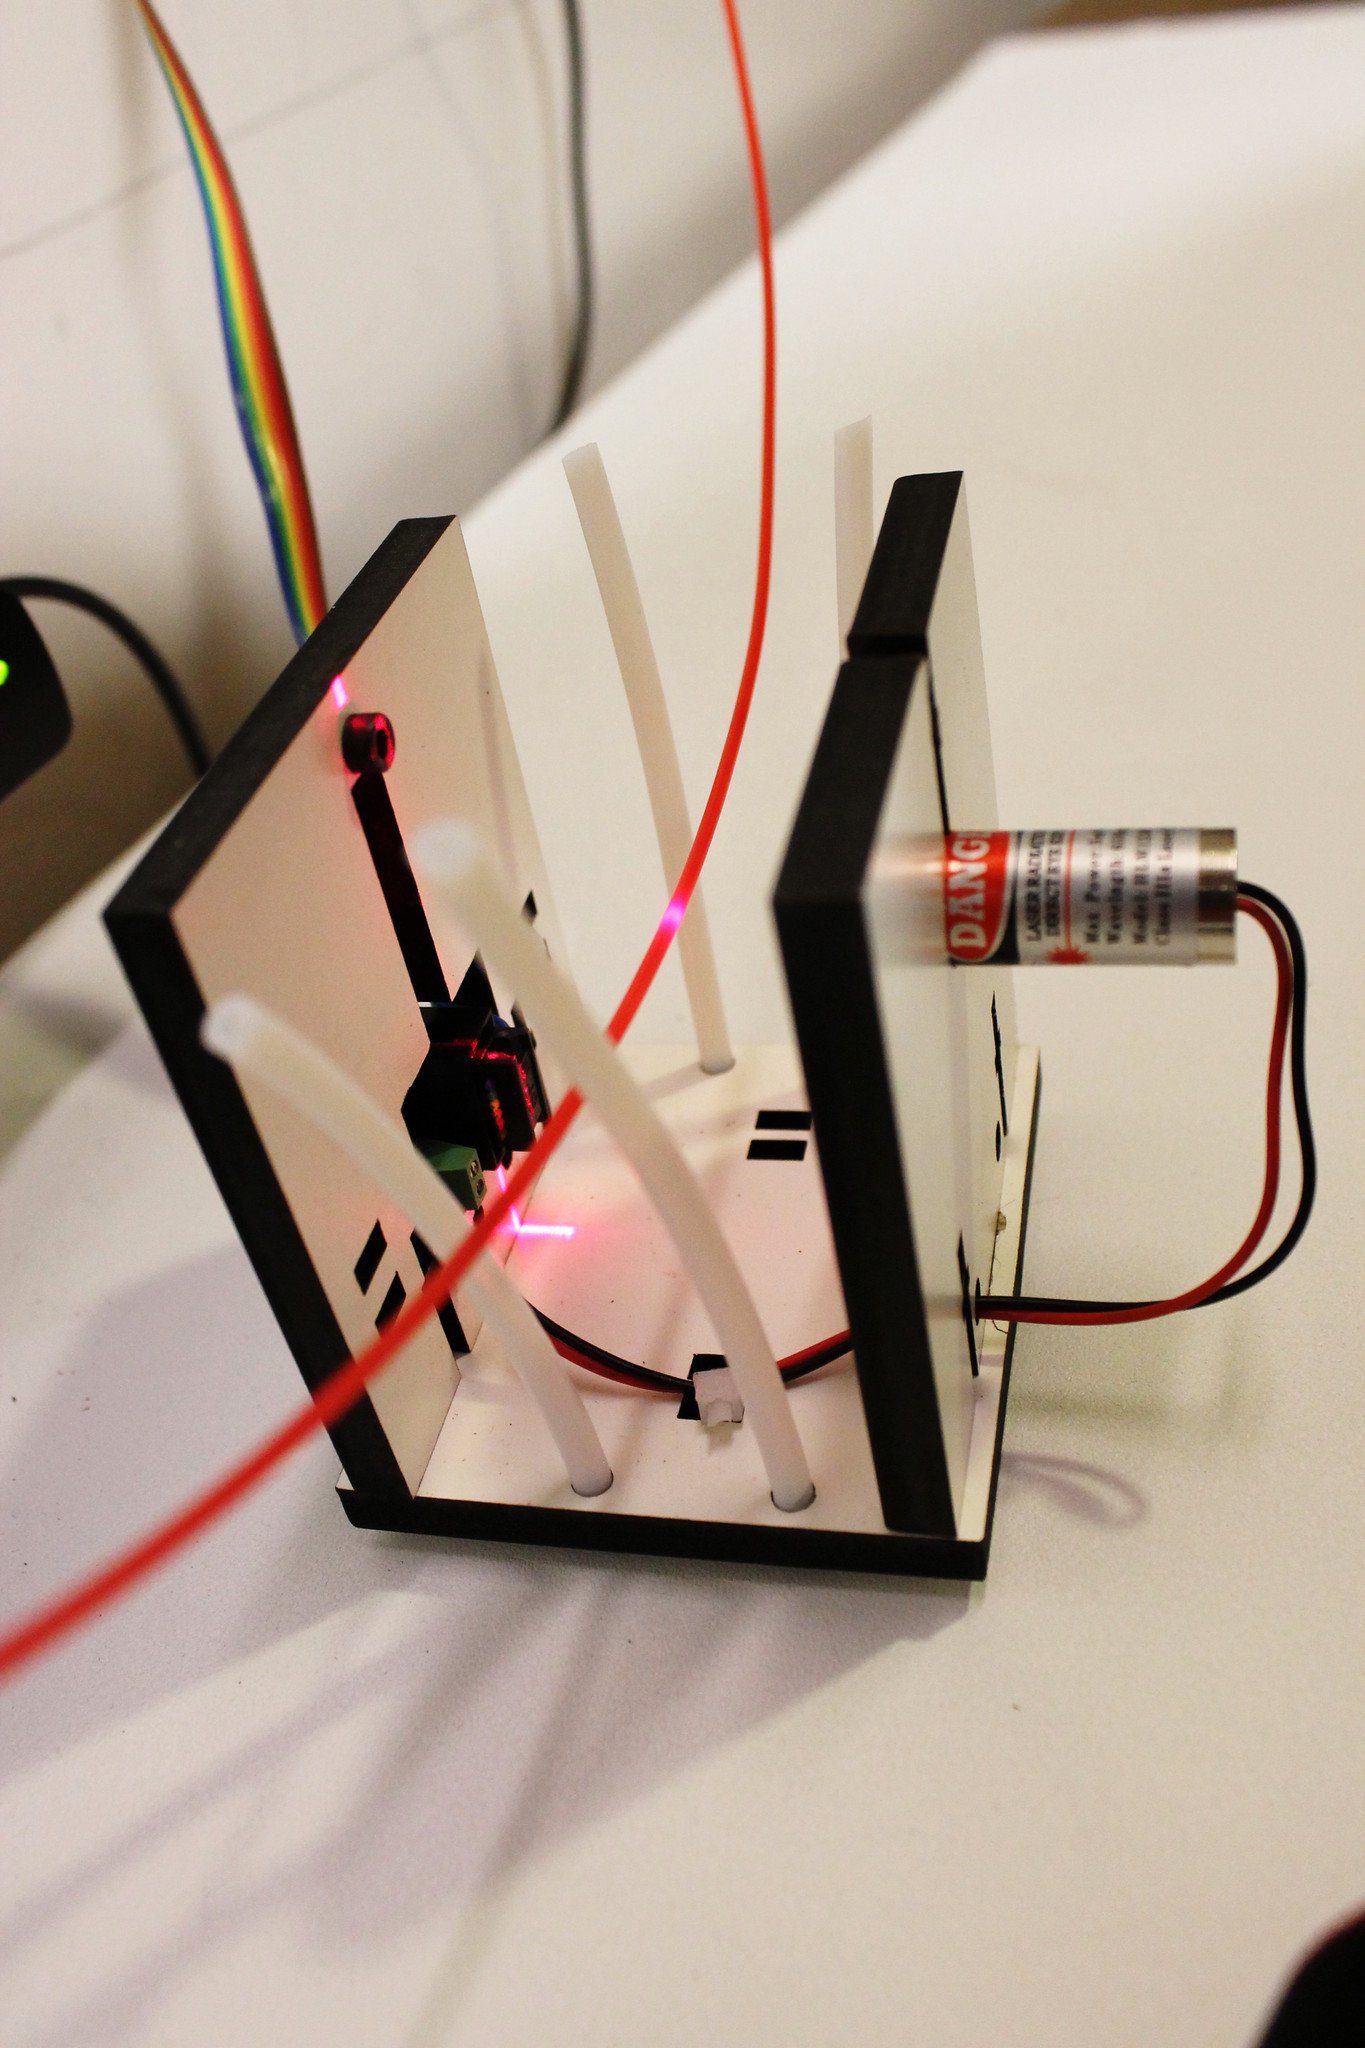
Image 1: Winding speed sensor. Source: Filastruder
Constant tension
To avoid overlaps during the winding process, a certain tension is required in the filament. Filawinder therefore contains a system for this, formed by a PTFE tube that forms a spiral that, besides giving the necessary tension, stretches the material before going to the reel.
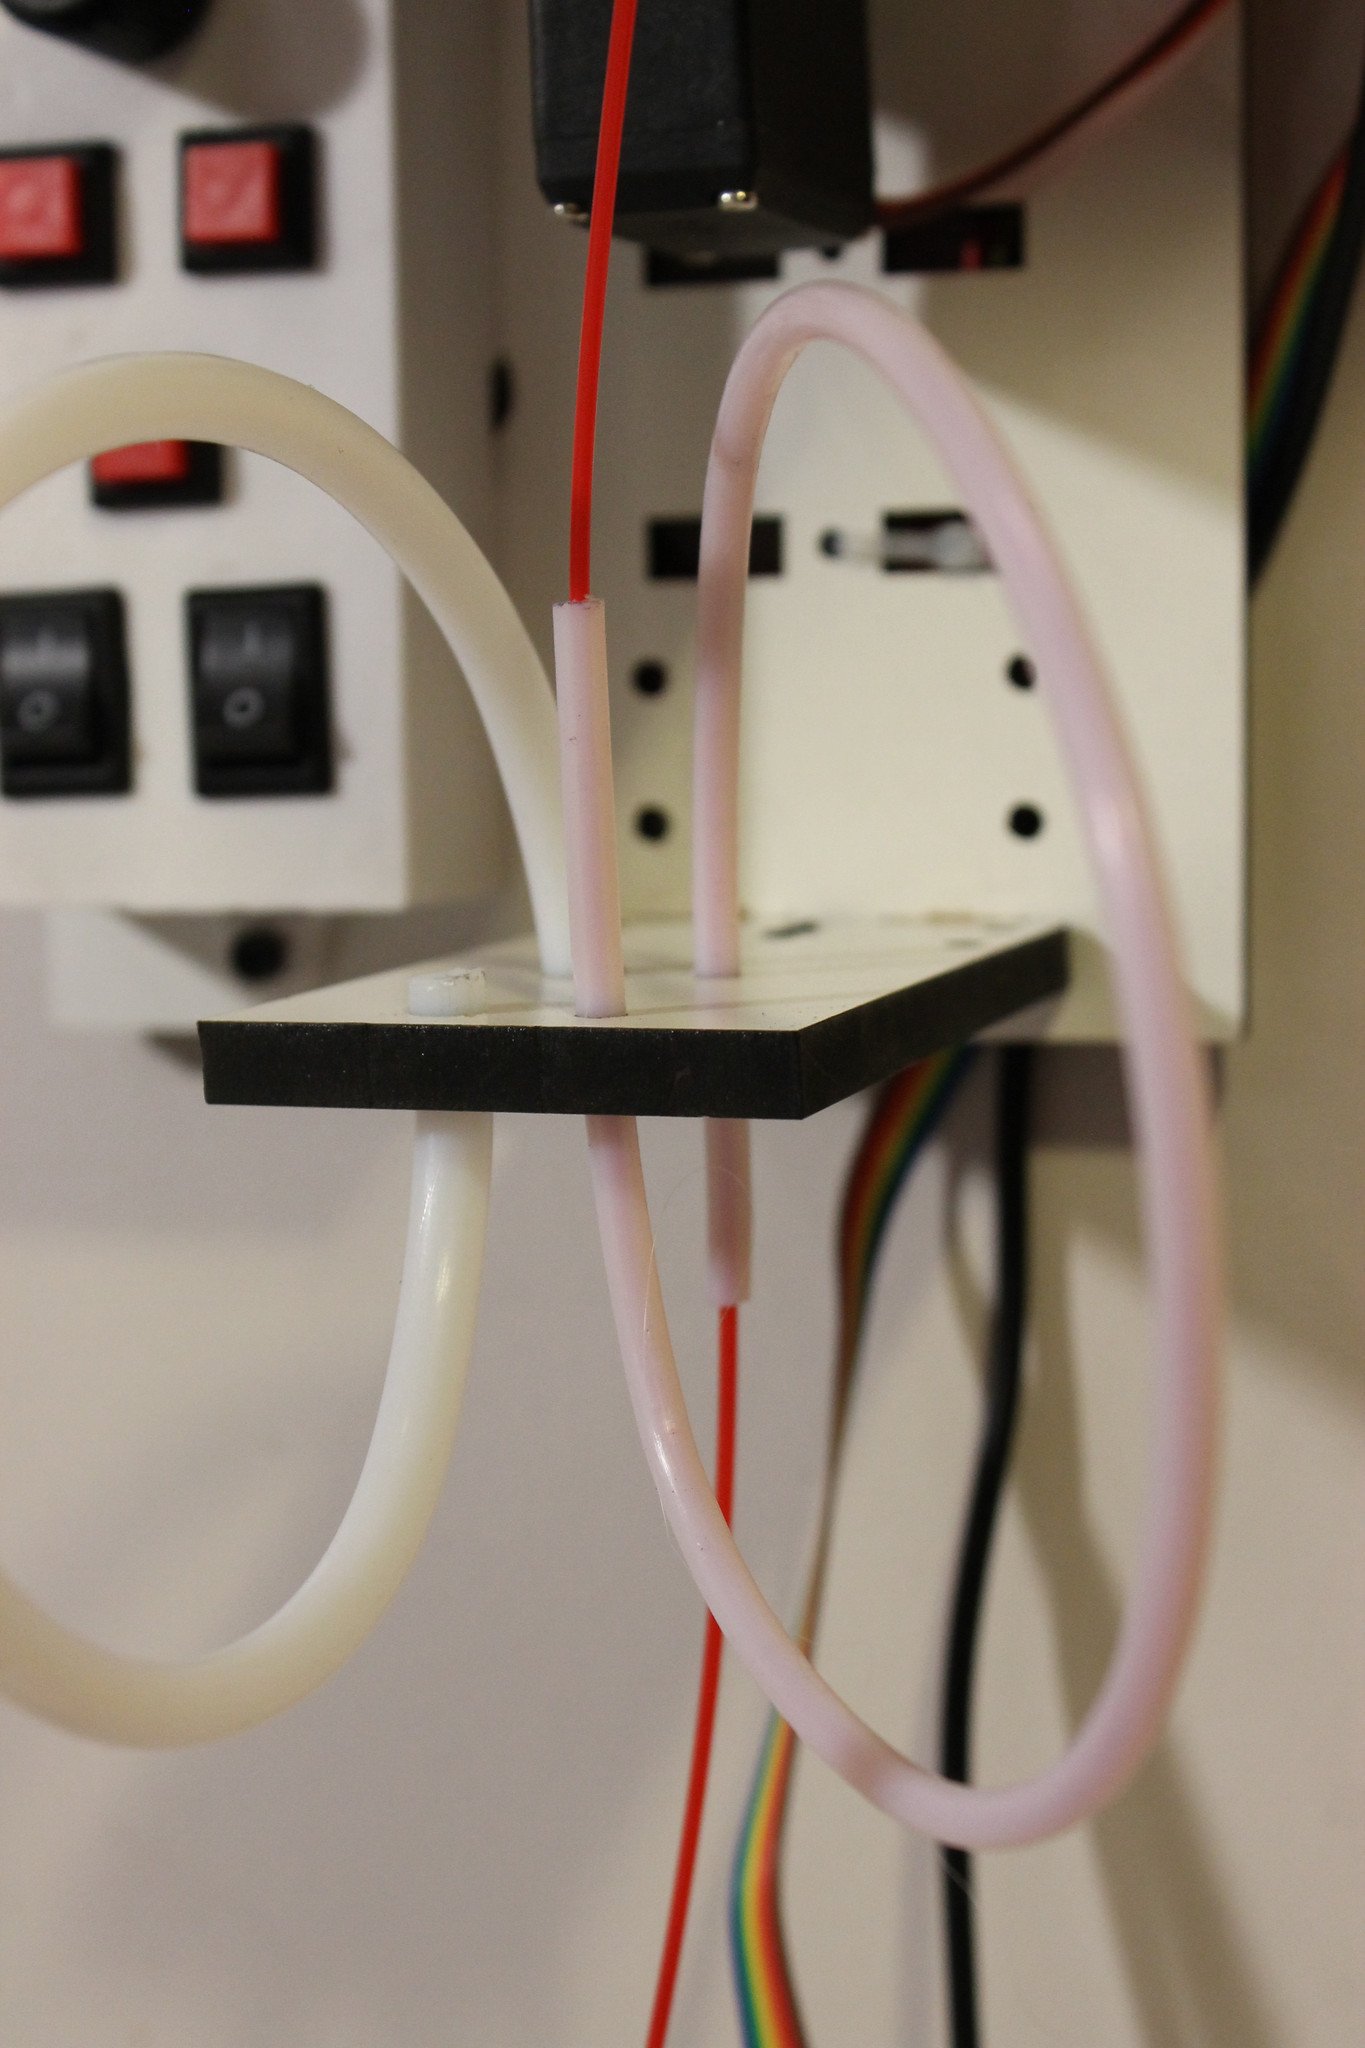
Image 2: PTFE Tensioner tube. Source: Filastruder
Filament guide
This is one of the most interesting parts of this machine, a guide for the filament located just before the coil that moves actively to perform the winding in an orderly and consecutive way. This guide can be set manually depending on the width of the coil that the user uses.
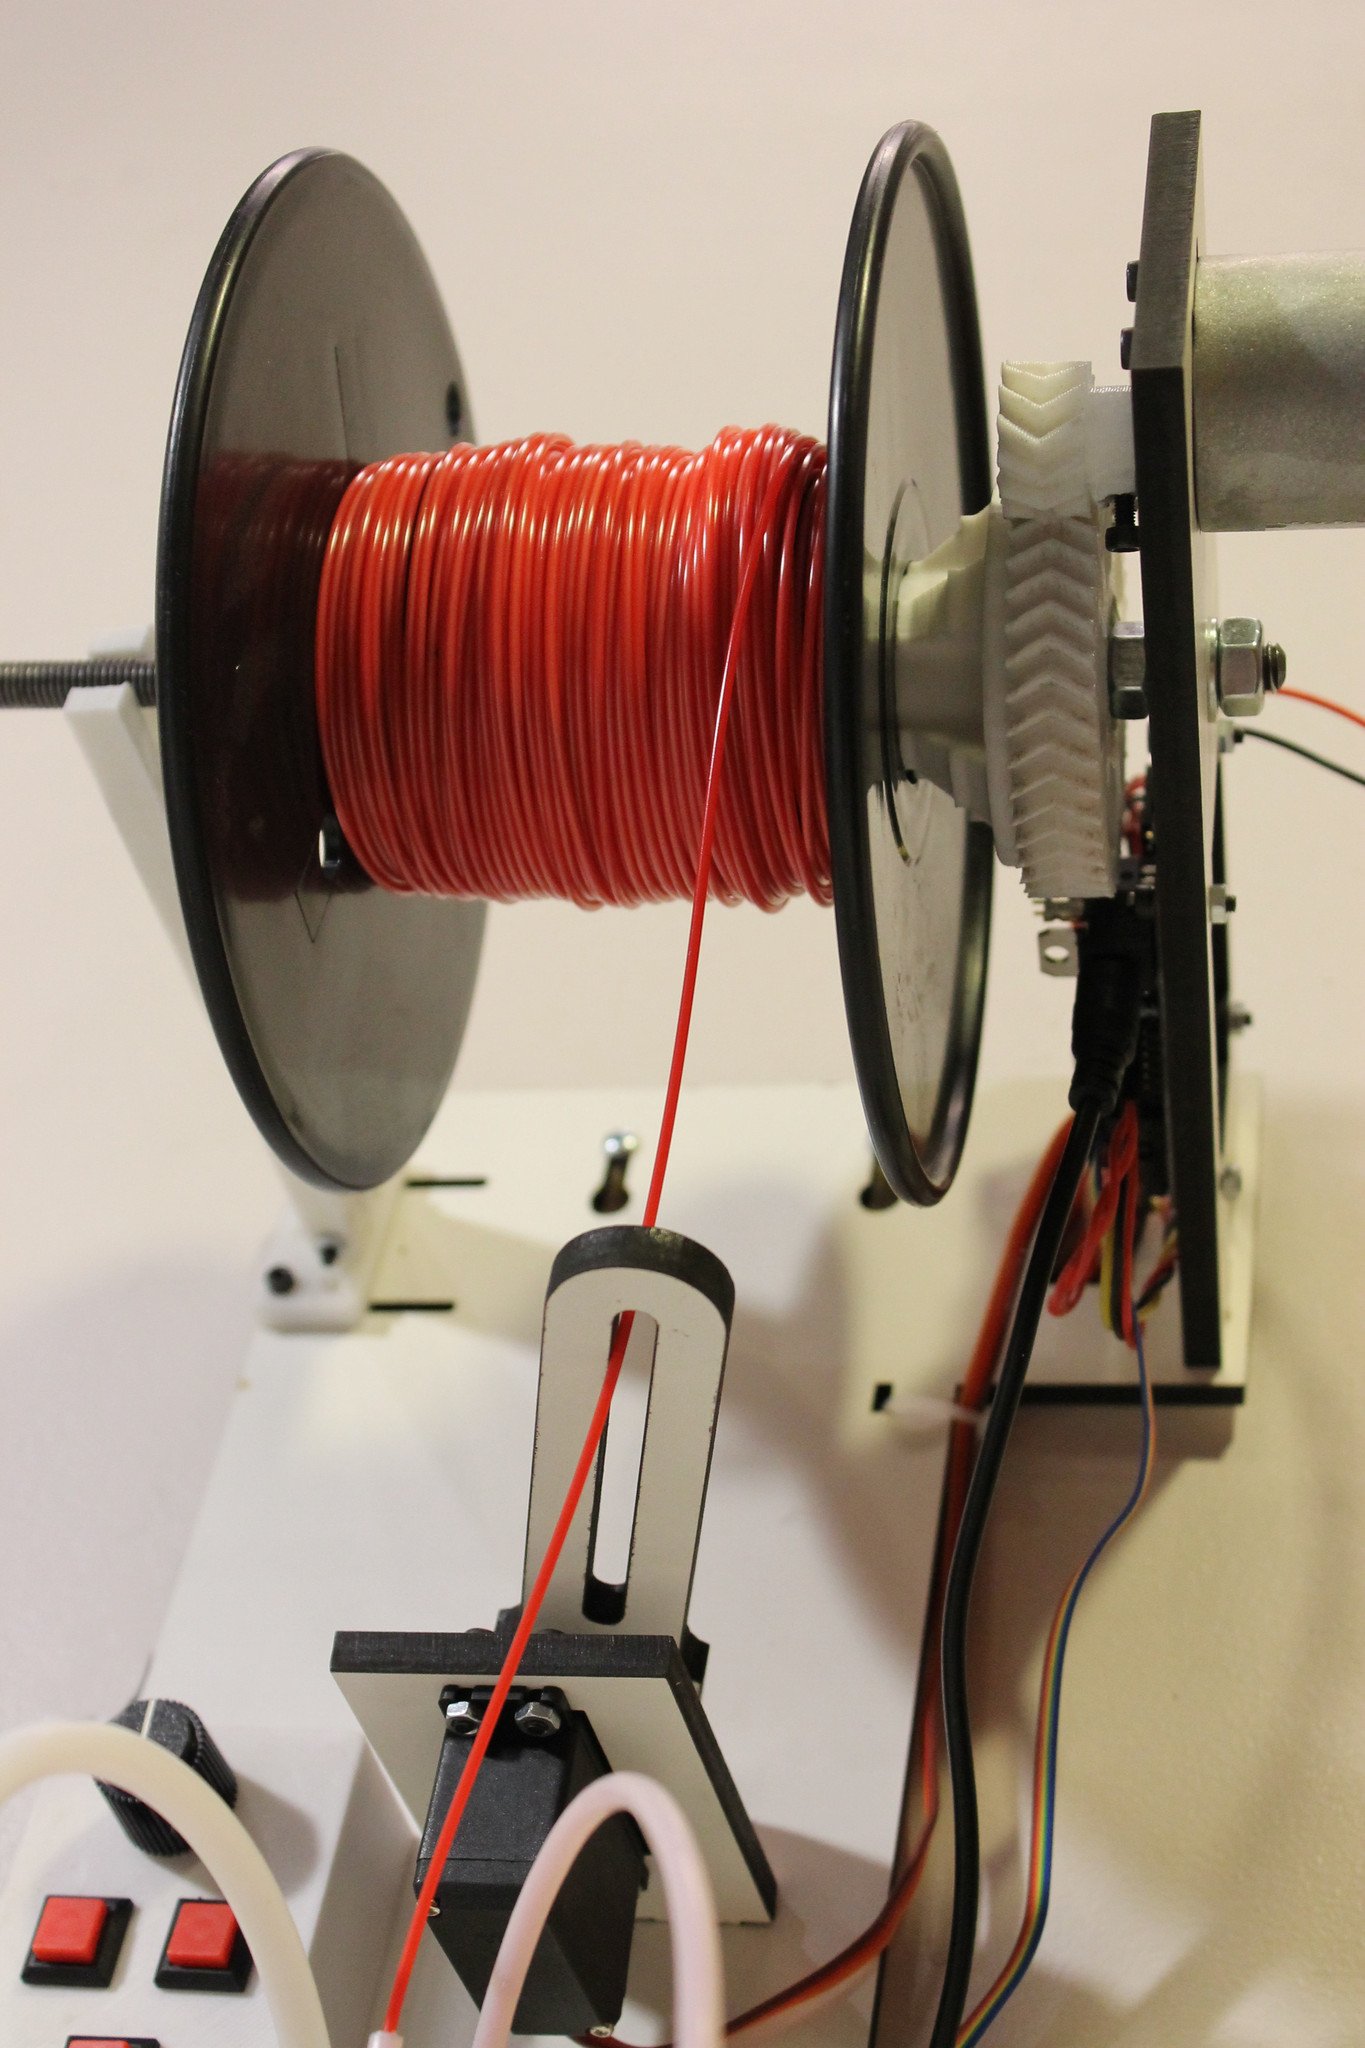
Image 3: Winding guide. Source: Filastruder
Universal Reel Assembly
Filawinder incorporates a well-studied geometry holder to match all the inside diameters of the coils used in the world of 3D printing. Thanks to this the user can reuse reels he has.
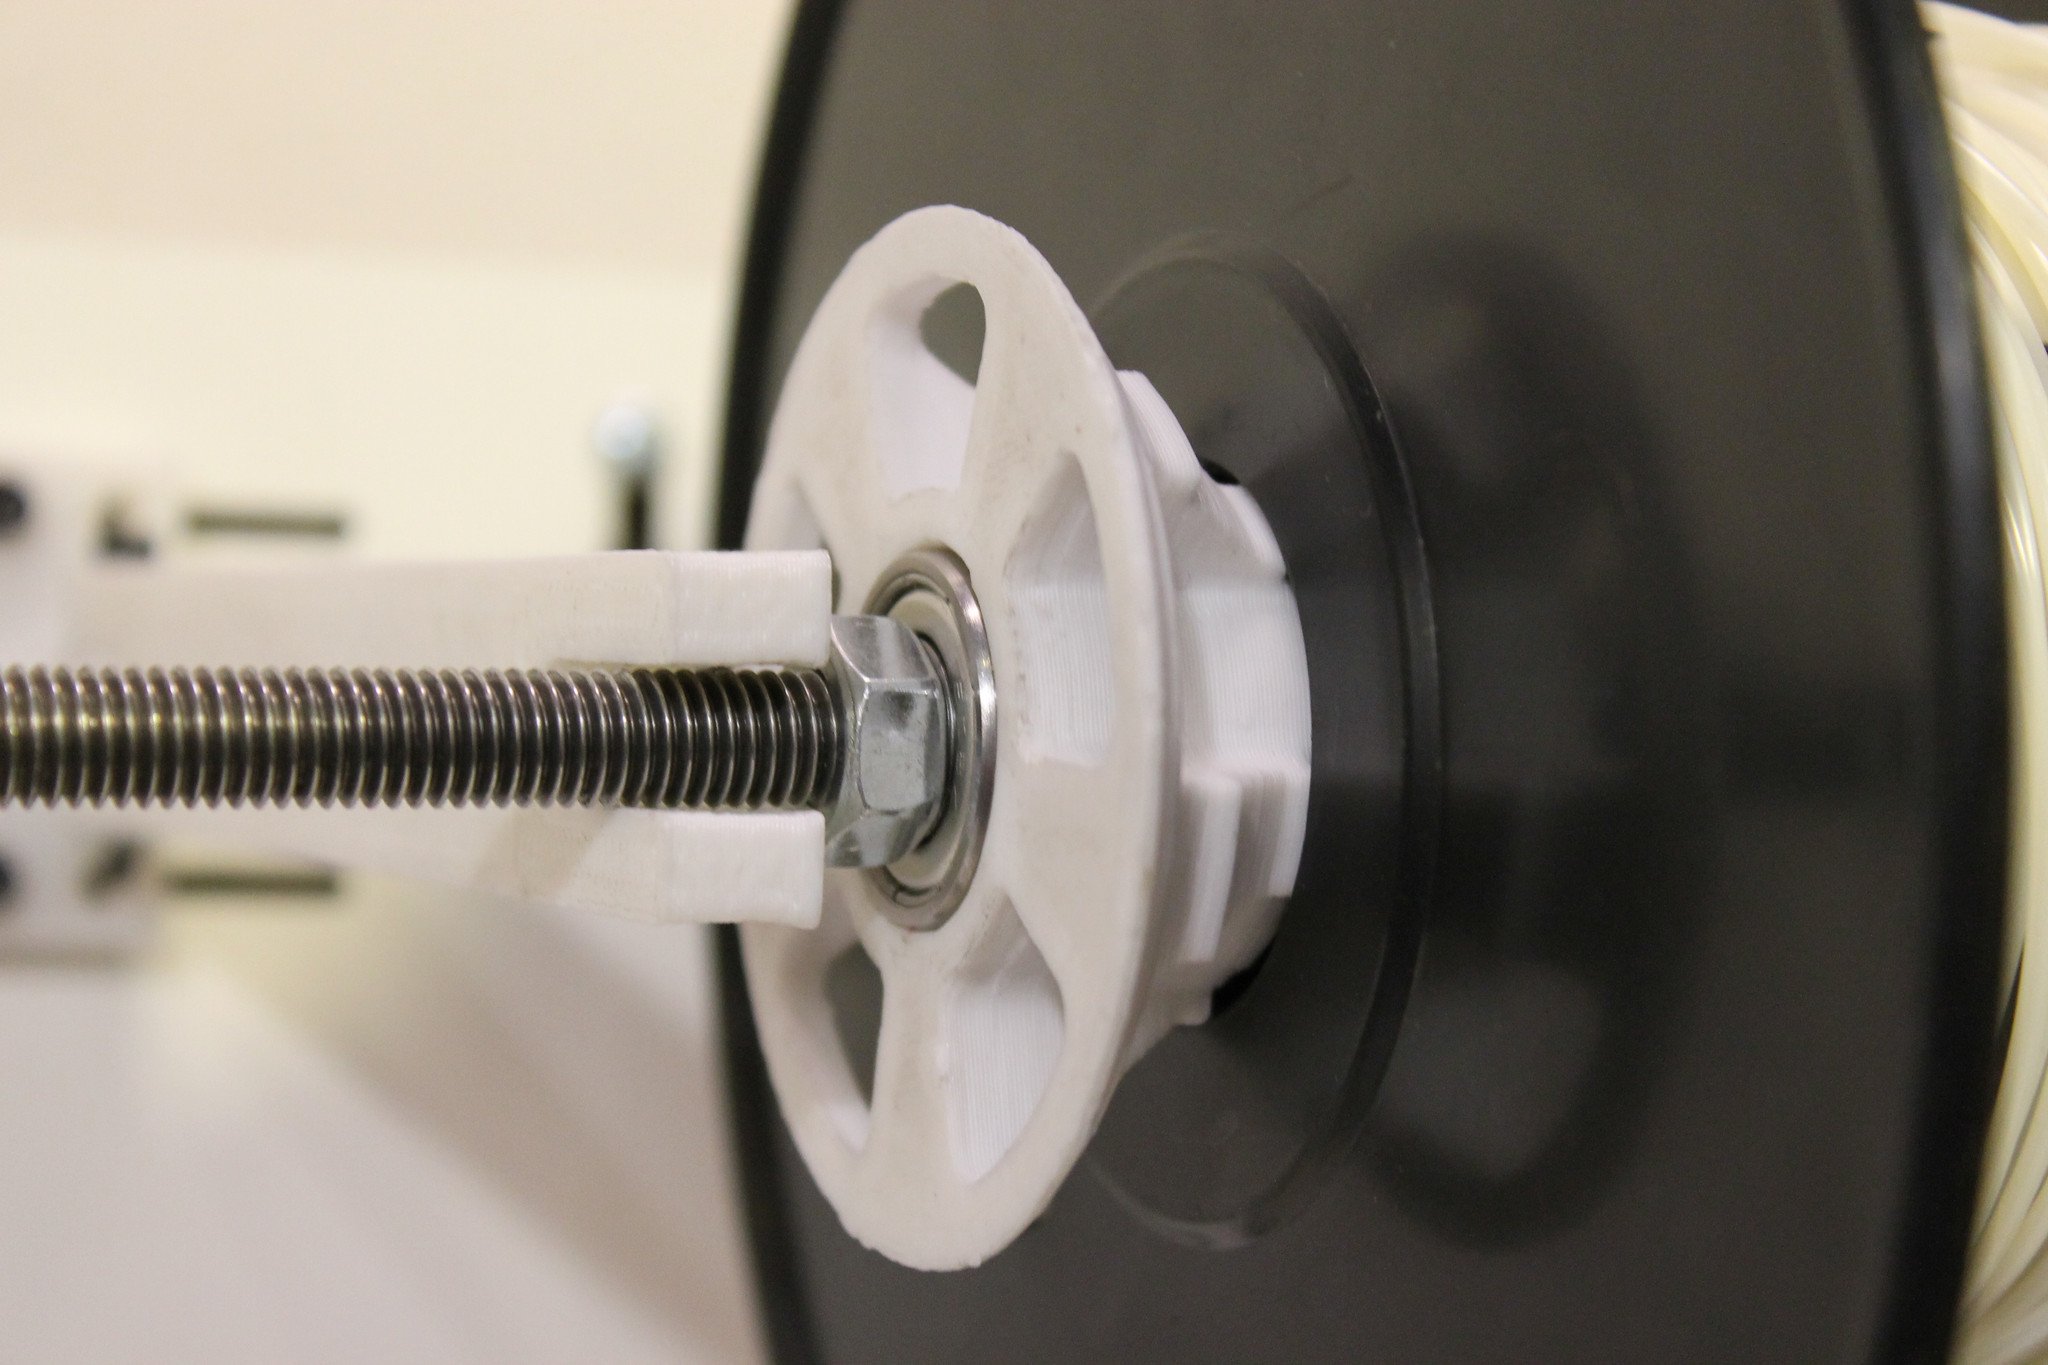
Image 4: Universal Reel coil. Source: Filastruder
Upgradeable
The Filawinder electronics is based on an Arduino Nano to control the entire sensor system and motors, but some plate pins are free. These connectors may be used for future modifications, such as a LCD display showing measurements or a filament width controller.
In the following video you can see the operation and configuration of the Filawinder working in combination with the Filastruder pellet extruder:
Video 1: Joint operation of the Filastruder and the Filawinder
Before mounting the Filawinder it is recommended to read the assembly manual found in the download section.
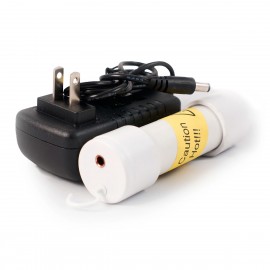
For the correct operation of this apparatus, the Filawinder must be separated 0.5 meters from the Filastruder, necessary separation so that the filament has a little pronounced curvature and thus, not deform the filament. This separation is also necessary for the correct reading of the sensor that controls the winding speed.

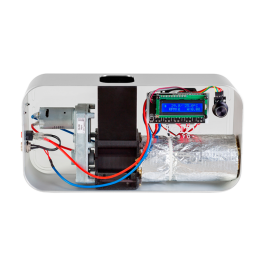
Image 1: Control box
How to set the limits of the strand guide:
- In the Filawinder control box press the left switch down to select the Auto Mode.
- Press the right switch down to turn on the machine.
- Hold down the "Right Limit" button and use the dial to move the guide to the limit of the right path. Then release the button.
- Hold down the "Left Limit" button and use the dial to move the guide to the limit of the left path. Then release the button.
- Press and hold the center button (Starting Position) and use the dial to move the guide to the desired start position. Then release the button.
- Turn the dial all the way to the left to rotate the engine to 0 rpm and calibrate the start position of the speed.
- Select Manual Mode by moving the left switch up.
How to configure the filament sensor:
- In the Filawinder control box press the left switch up to select Manual Mode.
- Press and release the center button to activate sensor calibration for 5 seconds.
- Move a piece of filament slowly up and down the light sensor array to record the shadows and set the operating limits.
- Once the previous process is completed, slightly increase the engine speed by moving the dial to the right. With the winding motor running you can check the calibration of the sensor, when moving a piece of filament upwards, the winding motor should slow down and when moving down you should increase the speed. Should this not occur, you should try to recalibrate the sensor.
You can consult Filawinder Documentation, STL Files and Filamwinder assembly videos in this LINK.
Accessories
30 other products in the same category:
-
Snapmaker Air Purifier
412,40 €
-
Zetasinter tubular sintering furnace
9 999,00 €
-
Zetadebind ultrasonic bath
325,00 €
-
PolyBox Edition II
57,84 €
-
PolySher
309,00 €
-
Zortrax Apoller
5 299,00 €
-
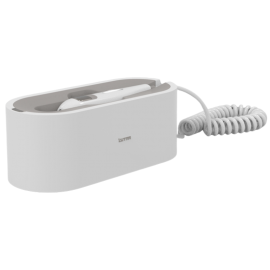
Ultrasonic cleaner
263,28 €
-

Felfil Spooler+
619,00 €
-
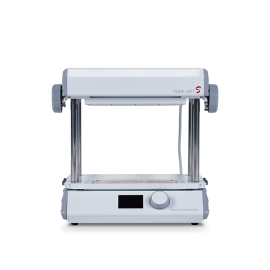
WonderCutter S - Ultrasonic cutter
499,99 €
-
FilaWarmer - Metallic filament heater
100,00 €
-
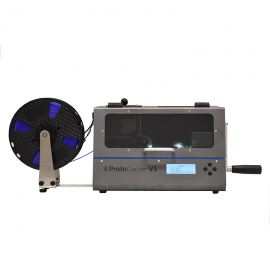
ProtoCycler V3 extruder with shredder
6 999,00 €
-
Felfil plastic shredder
1 199,00 €
-
BCN Smart Cabinet
3 495,00 €
-

Drying unit Vento
-
Modular drying unit Storm
-
Felfil EVO extruder
749,00 €
-
Filastruder Kit for 3D printing
549,00 €
-
WiFi Box Creality3D
37,90 €
-
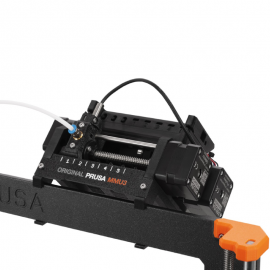
Multi-material Kit MMU3 for Prusa MMU2S, MK3S+ and MK4
339,00 €
-
Raise3D printer cart
699,00 €
-
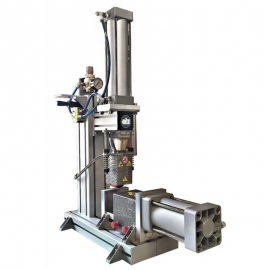
Benchtop Injection Molding machine
2 150,00 €
-
Flashforge filament drying station
1 932,00 €
-
XiP AiR Nexa 3D
229,00 €
-
Raise3D MetalFuse - Industrial 3D metal printer
-
DryBox EZ Xioneer
982,52 €
-
Mr Beam Air Filter II
487,60 €
-
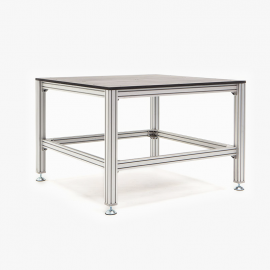
CNC worktable
735,54 €
-
CtrlAX - Ultrasonic cutter
599,90 €
-

Mr Beam Air Filter III
1 114,88 €
-
Formart S - My Yard
990,00 €
Categories