With the use of non-conventional materials, such as nylon, or when printing some FDM / FFF parts with a small base or a complex design, adhesion problems of the filament to the base may occur both at the beginning and during the 3D printing process. In that case, the first thing to check is if the leveling of the base and the temperature of the base are correct for the type of filament chosen. If, however, the adhesion problem persists, it can be remedied by 3 different methods of improving base adhesion: brim, raft or skirt. The activation of those adhesion options in the slicing software (Cura, Simplify3D, etc) can be found in the section "adhesion platform".
Here's what these three parameters are all about:
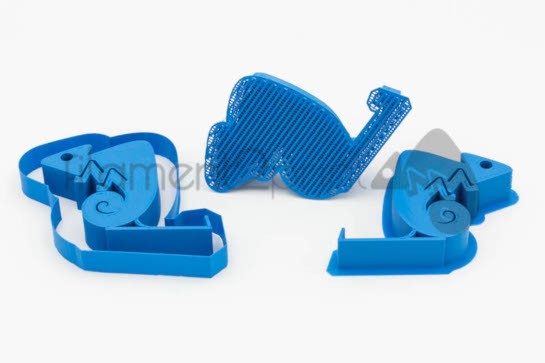
SKIRT
In this process, a copy of the contour of the piece to be printed is prepared before the piece itself is printed. It is a way of avoiding errors in the initial stages by making sure that the base is leveled and the extruder is purged before the printing process has begun. The number of contour turns, the separation distance of the skirt from the piece, and the height of the skirt can be set in the slicing software. If the skirt is set to have the same height as the piece, a wall is created that protects the piece from drafts, which helps in the 3D printing of materials sensitive to drafts, such as ABS.
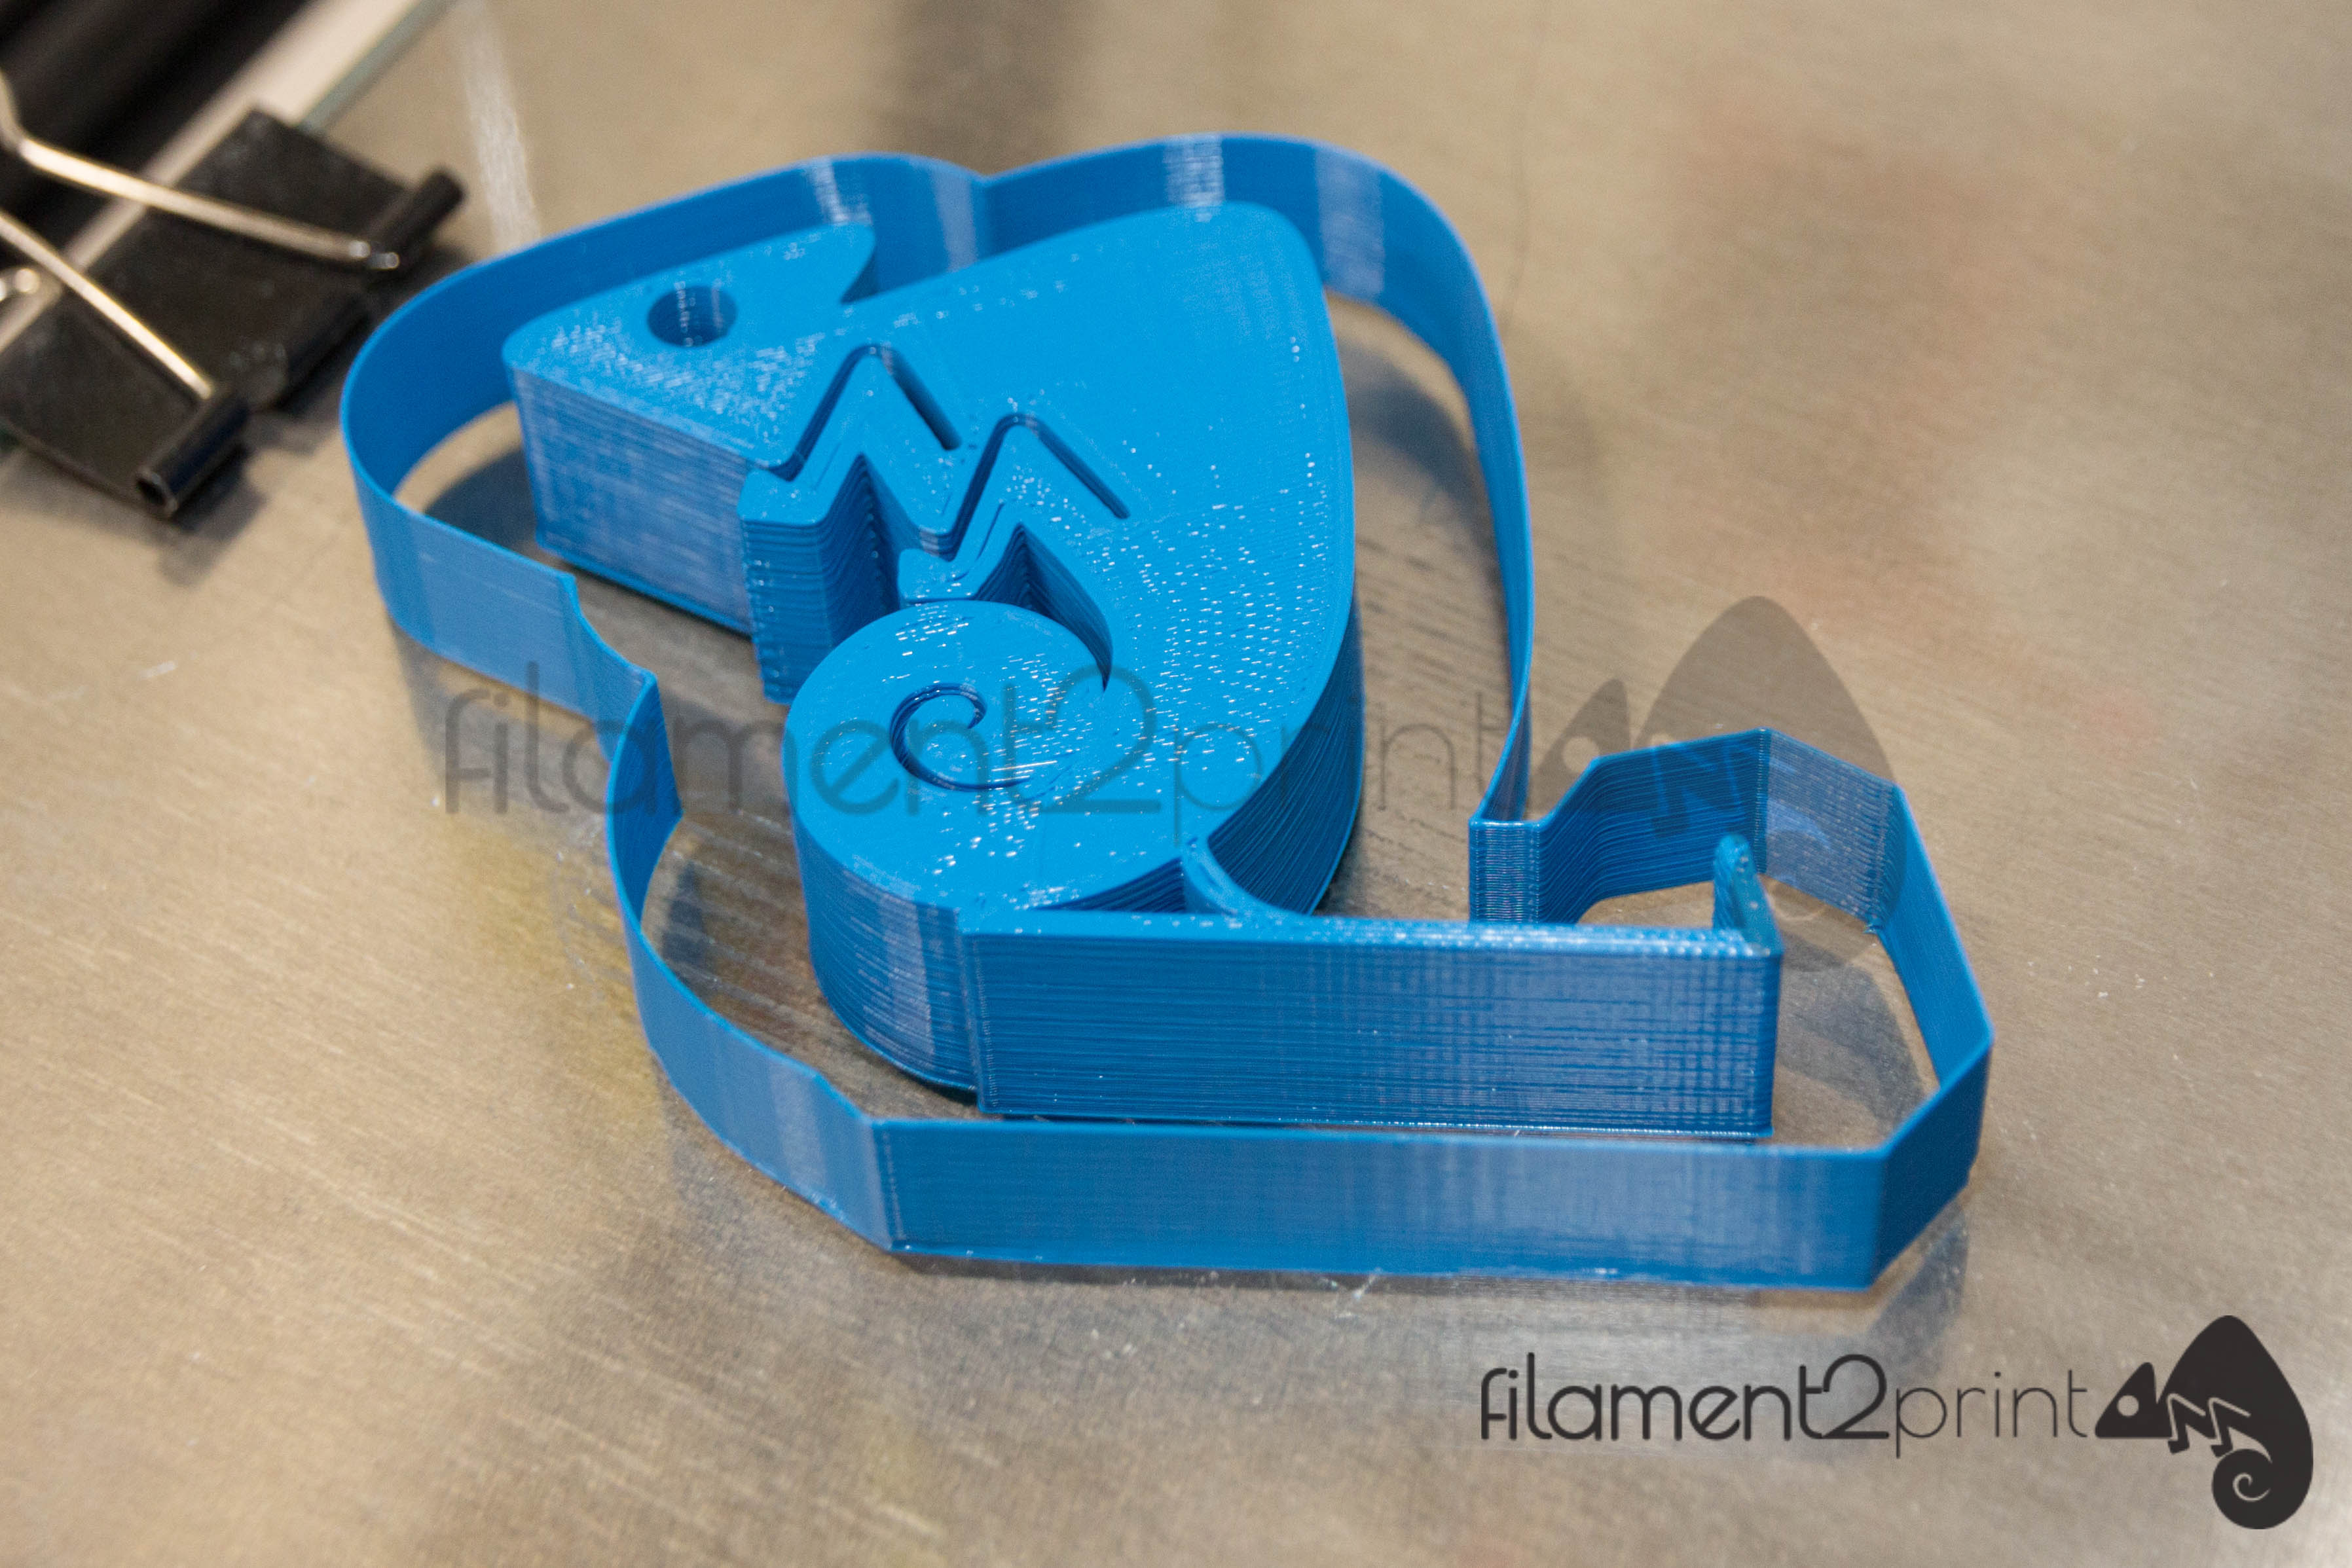
Image 1: Example Skirt.
BRIM
The Brim uses the same process as the skirt, but in direct contact with the piece. This method is ideal for prints with small or narrow base parts, such as a chair or a tower. It is also recommended to use brims when 3D printing parts with corners that can lift or pieces that contain narrow parts, such as pinions and gears. In those cases, a brim of 1-2 layers of height already guarantees sufficient adhesion.The only drawback of this method is the difficulty of removing the brim from the 3D printed part if there is no post-processing tool available, such as Modifi3D.
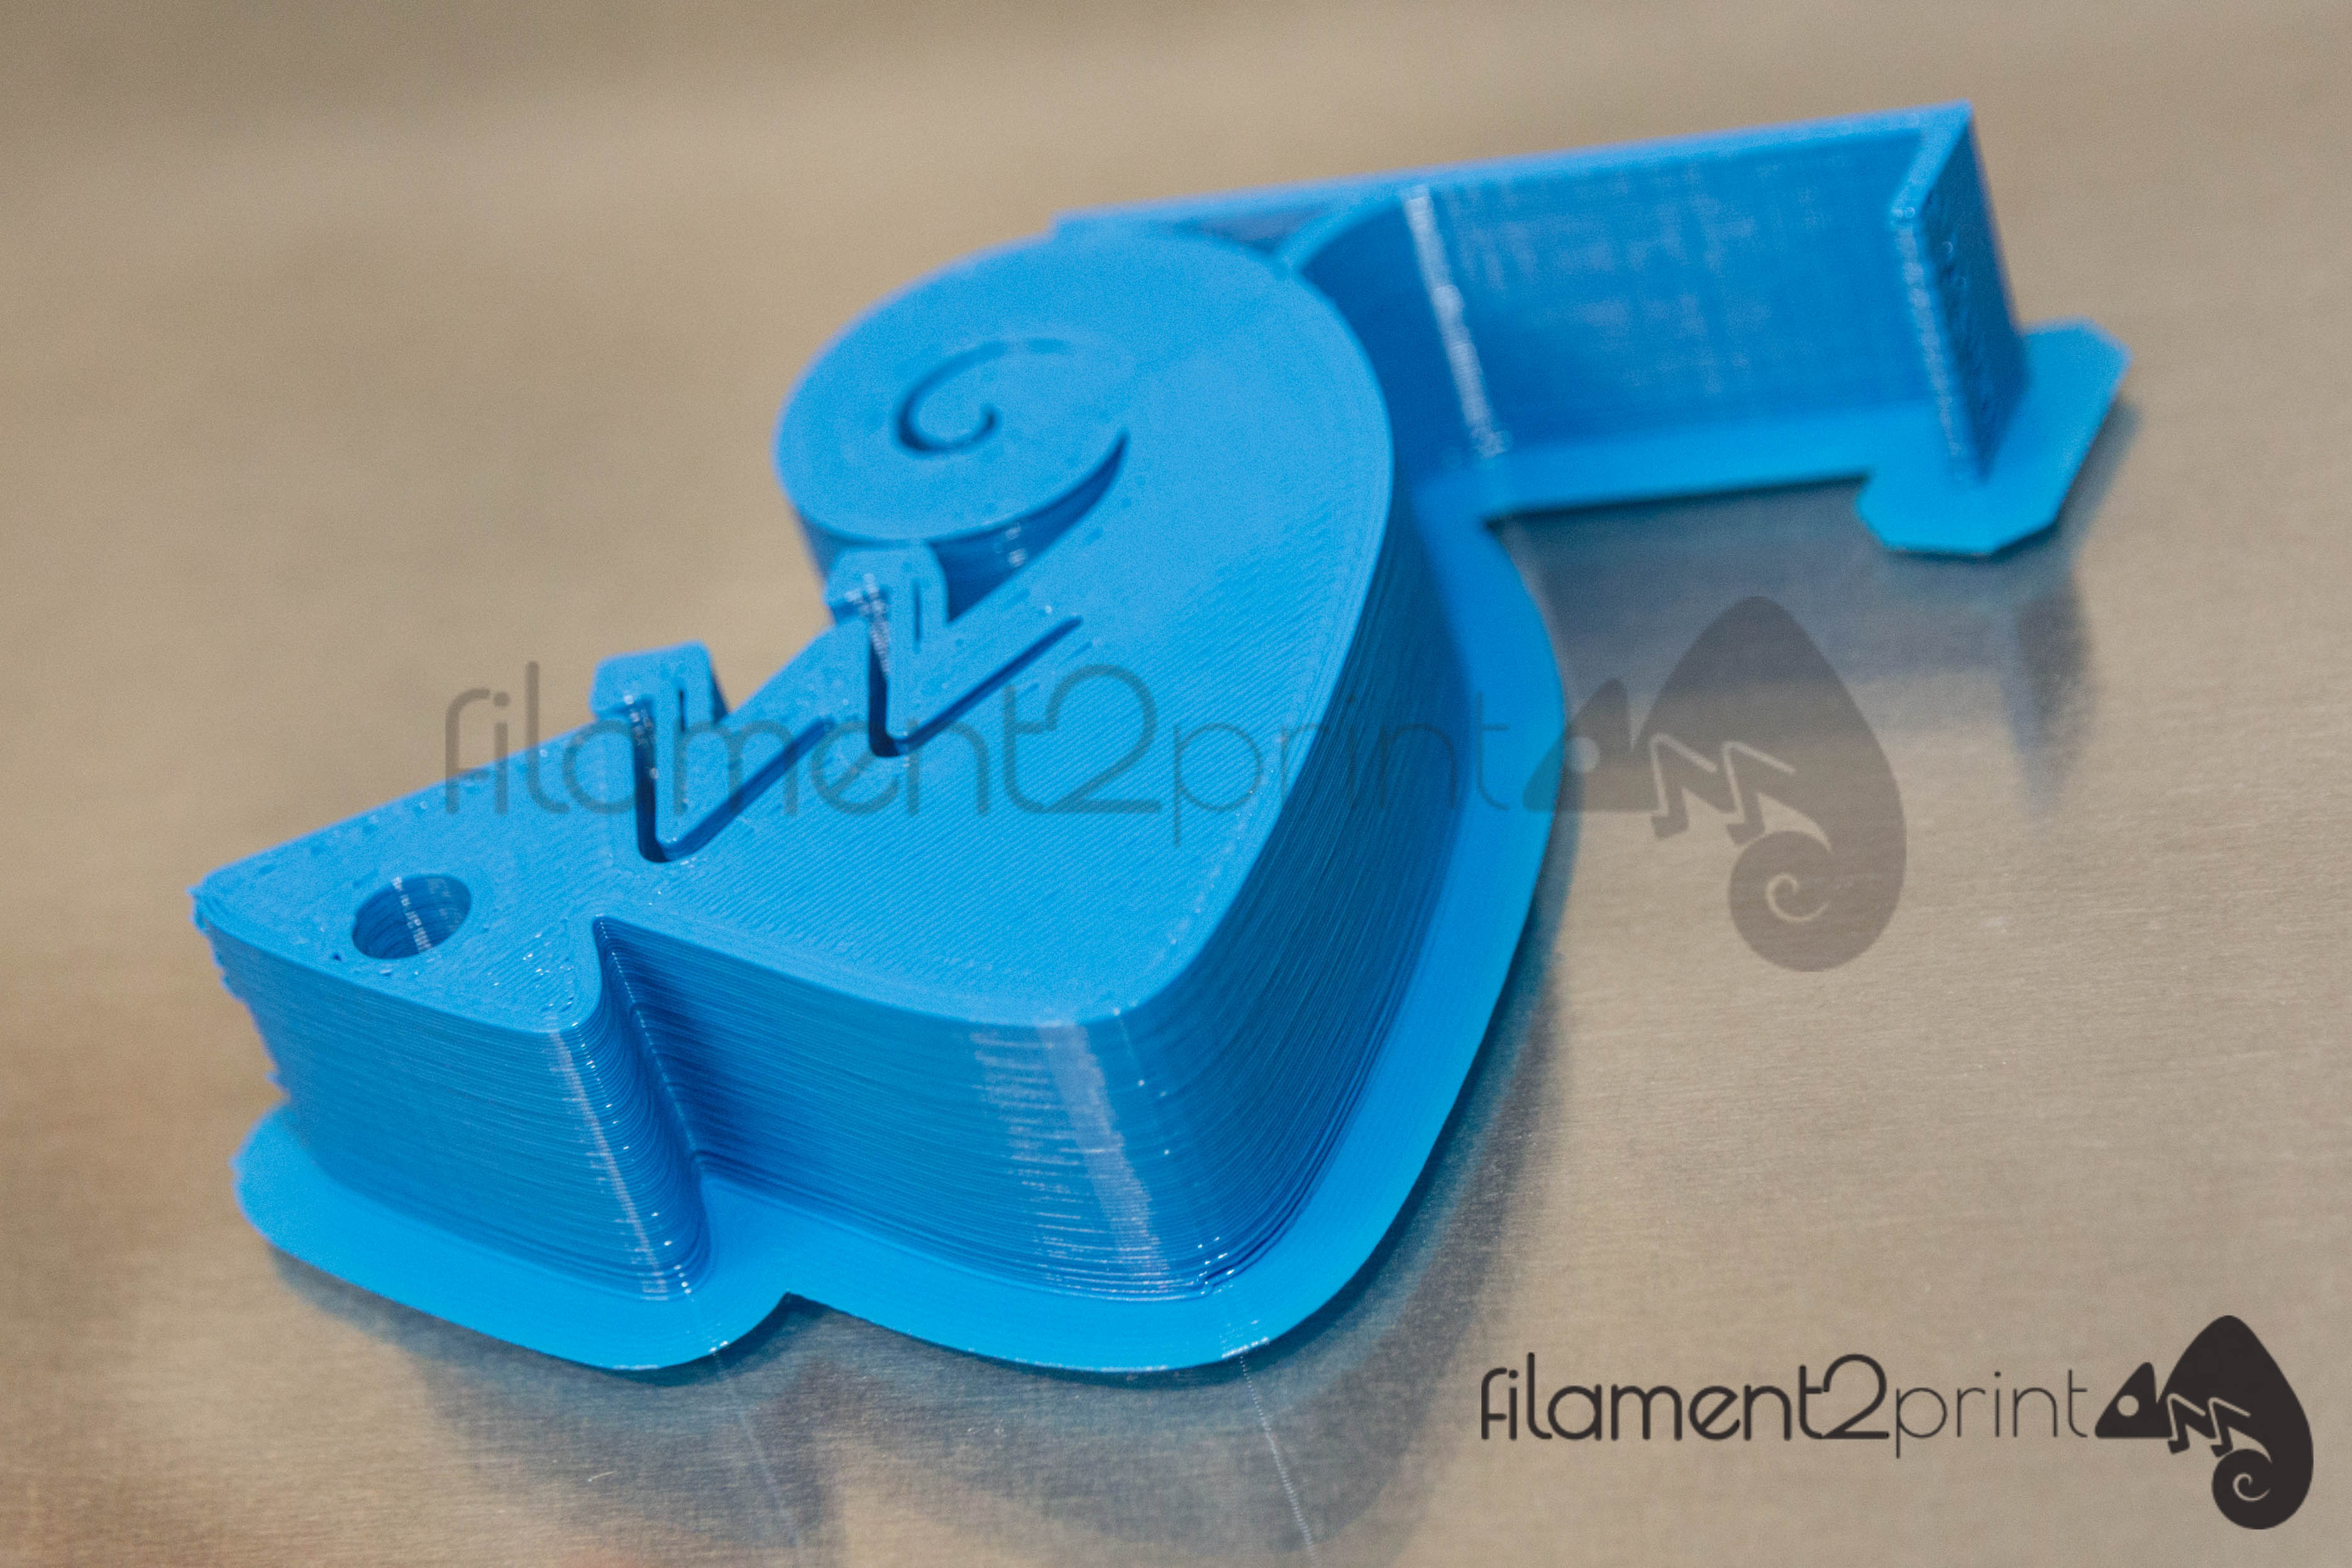
Image 2: Example Brim.
RAFT
This is the method most adequate for materials that are difficult to bond to the base. A raft is created by 3D printing a horizontal lattice between the base of the 3D printer and the part. As this lattice has more contact area with the base than the piece itself, it favors adhesion and avoids leveling problems (when the attachment is small). Regarding the latter, in some 3D printers that have a large base and whose exact leveling is very difficult to achieve, it is advisable to always use a raft. Unlike a brim, a raft is easy to remove and leaves almost no “debris” on the 3D printed piece.
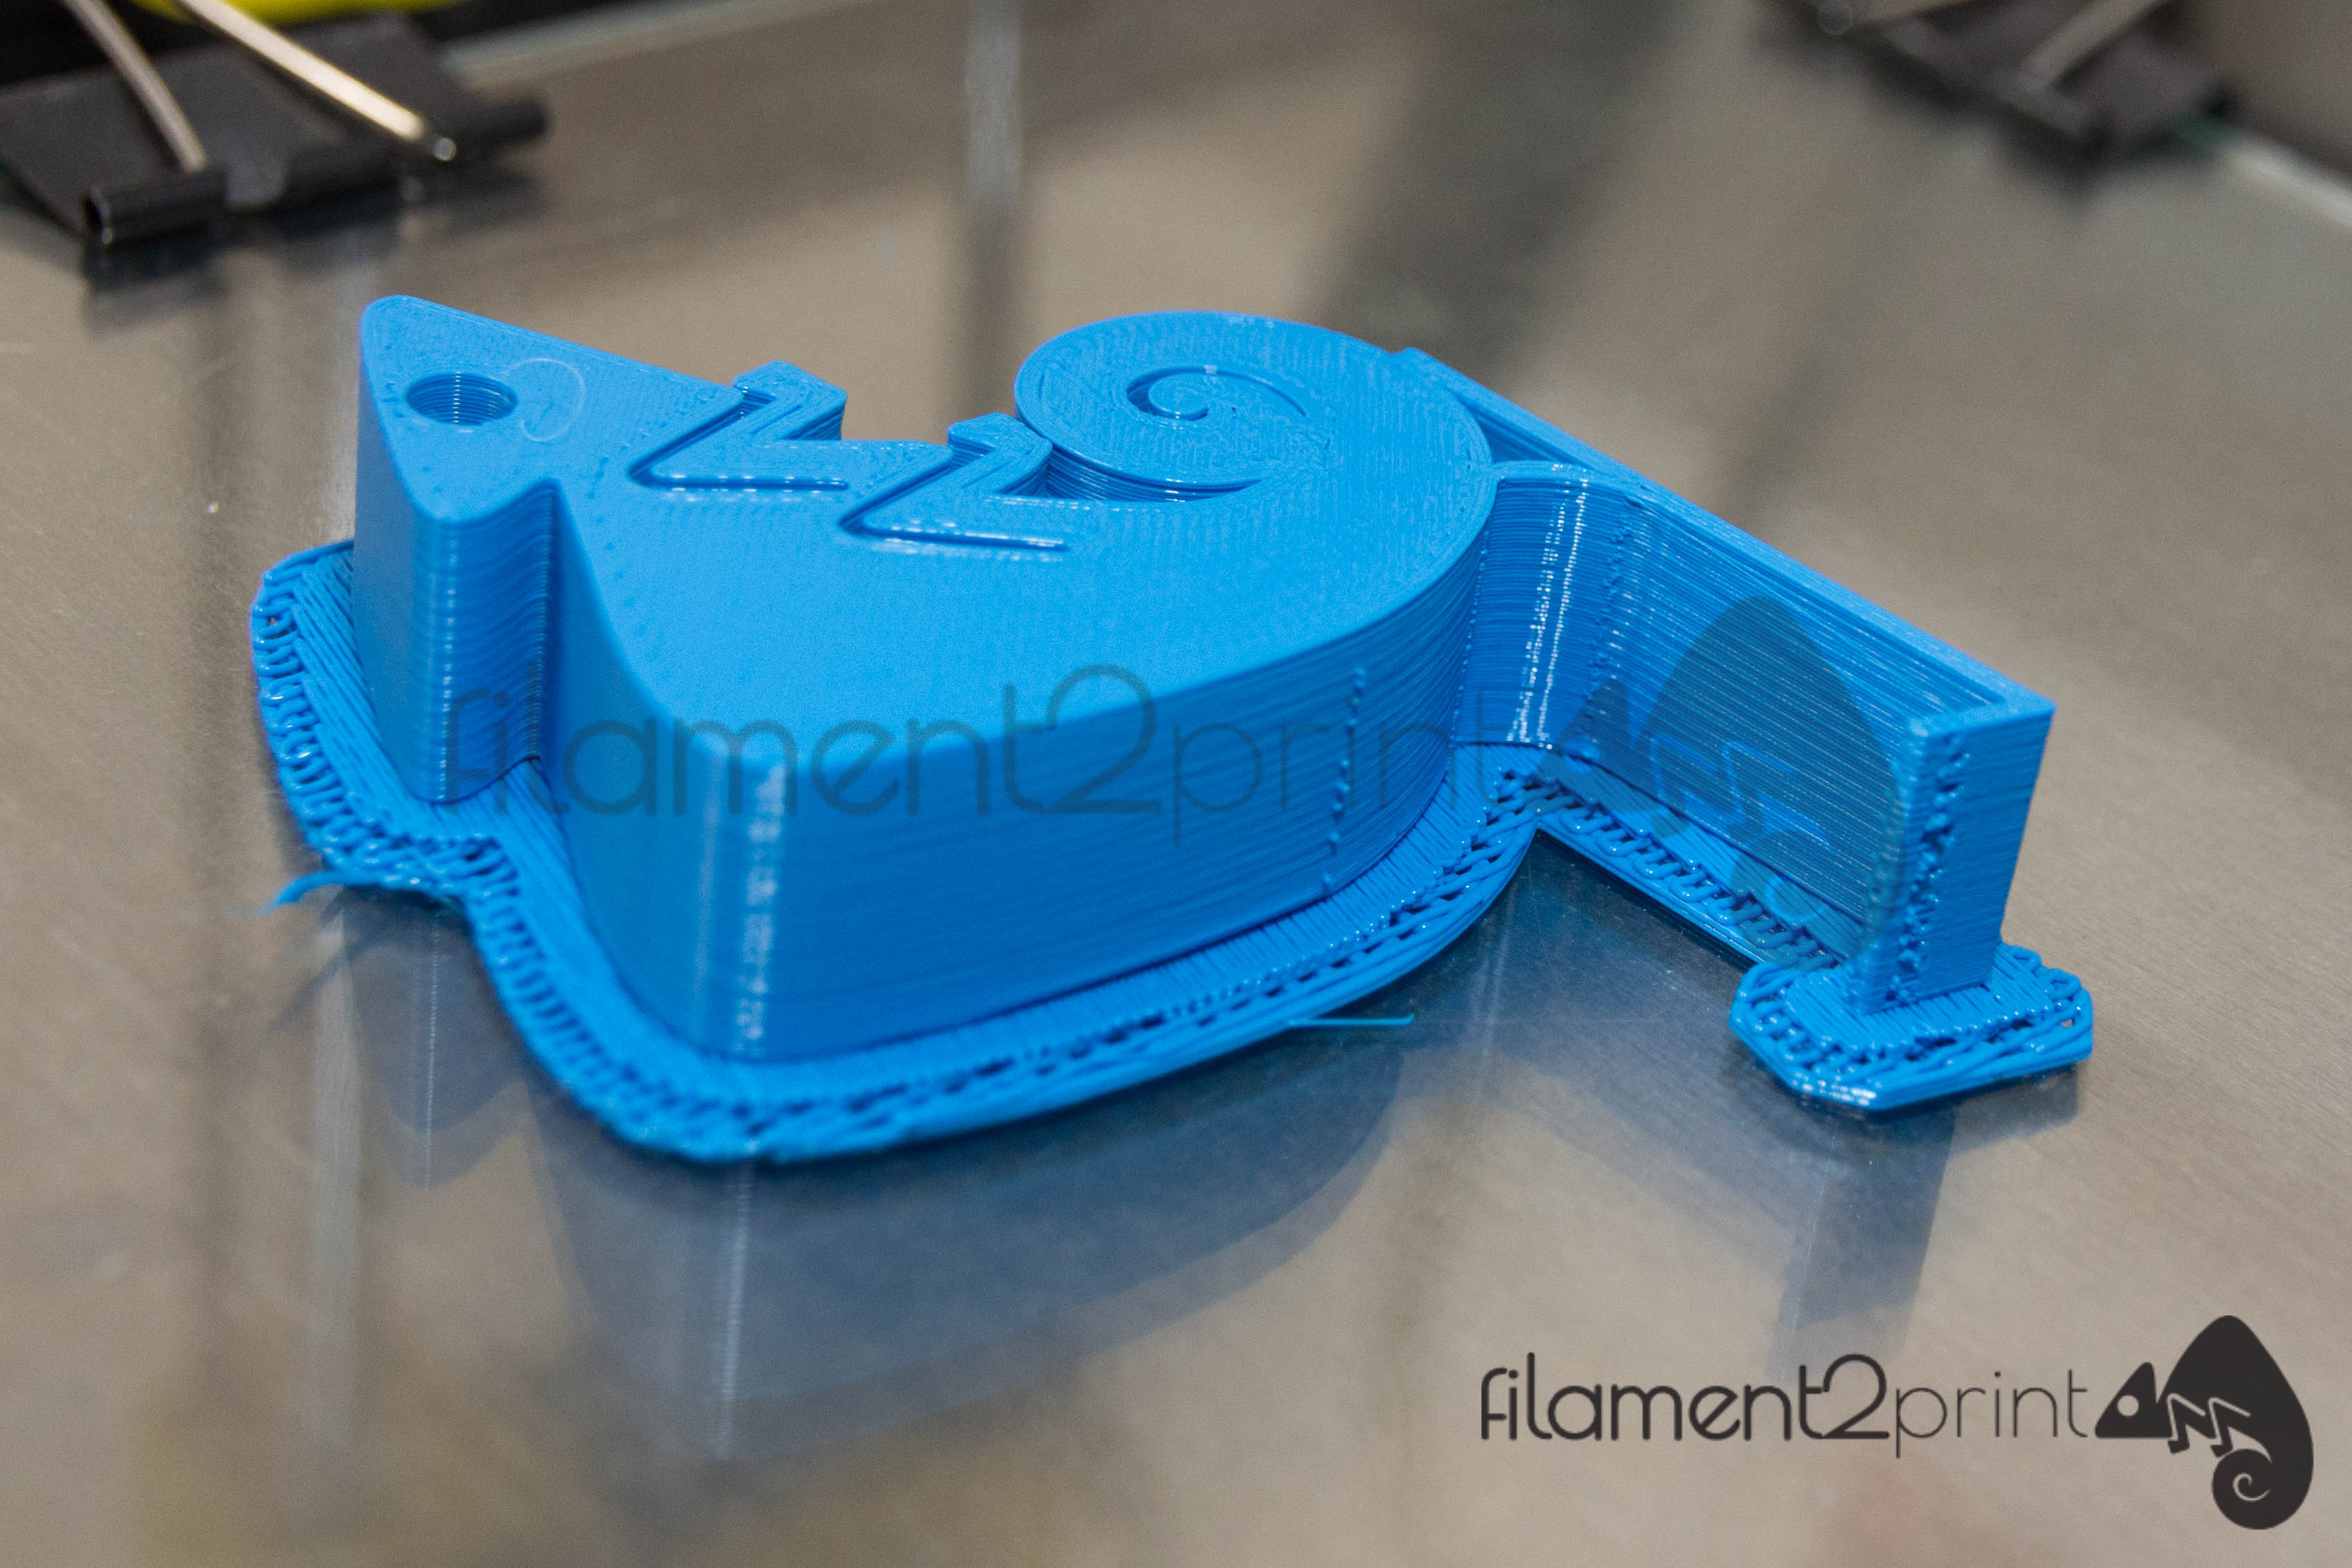
Image 3: Example Raft.
By applying the methods mentioned above, any user can make 3D prints of all types and with almost any material without experiencing complications such as warping.


Como traducirían al español Raft y Brim? Gracias
Raft es BALSA y Brim es BORDE. En las versiones de CURA que tienen el idioma en español, esos son los nombres con los que los encontrará, y no, en el contexto de la impresión 3D, no se suelen utilizar los términos en inglés. Eso lo he oido yo hace 30 años en los que se comentaba que la "informática se usa en inglés". Obviamente es un error y a día de hoy cualquier software que se precie (libre y no digamos privativo), tiene el idioma más hablado del mundo para poder seleccionarse como idioma de uso: el español.
Hola Sibila. Se puede traducir raft como falta y brim como borde, aunque en el contexto de la impresión 3D se suelen utilizar los términos en inglés.
¿cómo puedo solucionar el problema que tengo? Al crerar un muñeco en vertical, al llegar a las manos... le ponfo el RAFT para que no "quede en el aire" pero no es suficiente y el extrusor cada vez que da una capa mueve el soporte del raft y el resultado de los brazos es espantoso. Gracias
Eso es soporte, no raft. Debes ajustar mejor los parámetros de soporte como densidad o tipo. Además puedes en el propio diseño de la pieza hacer uniones para rigidizar la misma y así evitar esa inestabilidad.
hola, buenas a todos! Mi problema es el siguiente: quiero empezar a incurrir en el mundo de las litofanías, y como saben hay q imprimirlas en vertical para un mejor acabado. No logro q la misma quede pegada a la base durante todo el proceso, se despega de la balsa y borde sin importar que parámetros altere, o sea, el borde o balsa siguen adheridos a la cama, pero el modelo se despega de la balsa/ borde. Hay alguna manera de solidificar la union del modelo stl con la balsa?
Tengo, el mismo problema. Hay que modificar el Raft Aip Gap (espacio entre la litofanía y la balsa). Ponélo en 0,1. después hay que tener cuidado, al retirar la balsa. O anda probando, el grosor del espacio.
Hola ..el raft tiene algún grosor mínimo?,,,, en el Cura el grosor esta dado por Raft top layer thickness, Raft middle thickness y Raft base thickness supongo q modificando cualquiera de estos valores modifico el grosor..
Qué distancia debe haber idealmente entre el raft y la pieza?. El raft se adhiere excelentemente pero la pieza no se adhiere al raft... Gracias