One of the most complex tasks when working with resins is to set the printing parameters correctly. Achieving the optimum values is often a simple task but requires multiple iterative print tests.
The parameters
When calibrating a resin, it is important to know the available parameters and their influence. The most common are:
- First layer exposure: This is how long the first layers will be exposed, i.e. how long the LEDs will stay on. It should be higher to ensure adhesion to the platform.
- Exposure: The time the remaining layers will be exposed. Too long a time can cause dimensional errors and loss of resolution, while too short a time can cause the parts not to cure properly.
- Delay time: This is a waiting time from when the LED turns off until the platform moves. It is used to allow the part to cool before starting the next layer. It is usually set to zero, except for resins that require very long exposure times or for the first few coats.
- Lifting height: This is the height that the platform is raised at each layer change. If the platform is not raised high enough, the part will not peel properly from the bottom of the tank and subsequent layers will fail, however large lift heights increase the printing time. The ideal value is the minimum required to allow the part to separate, but it is always advisable to select slightly higher elevations.
- Lift speed: This is the speed at which the platform is raised and lowered between layers. Higher speeds reduce printing time, but increase the risk of failure, especially on substrates.
The calibration model
The first thing you need to parameterise a resin is a validation model. This is a model that includes several different details of various sizes and is used to evaluate the quality and dimensional accuracy of the print.
There are many models available in the most common file repositories, such as this model.
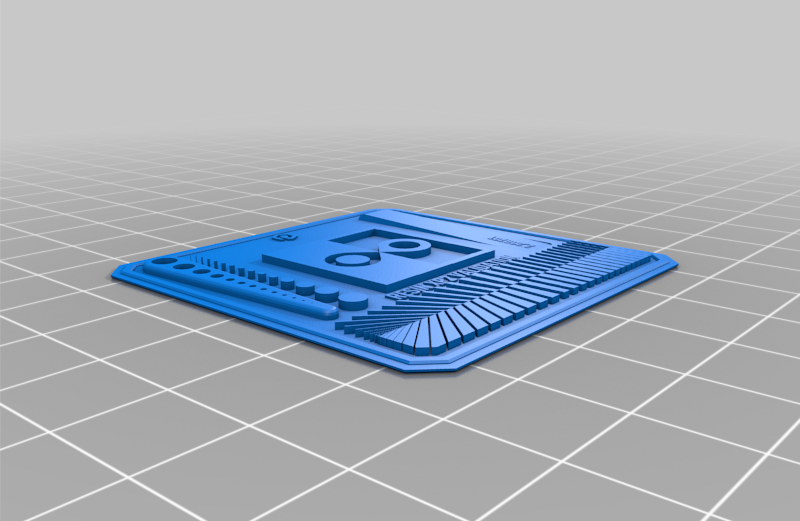
Image 1: Resin calibration matrix. Source: Thingiverse.
Correct parameters will provide a quality print, where all details are visible, and with accurate dimensions.
Optimisation
The most important thing when parameterising a resin is to determine the correct exposure values. In order to do this, several iterations must be carried out by varying these values. The process is as follows:
Step 1: Determine the correct exposure:
1. Select high exposure values. As a starting point, you can select twice the exposure of a similar resin that has already been optimised or a predefined software profile for similar materials.
2. Print the test model and evaluate it.
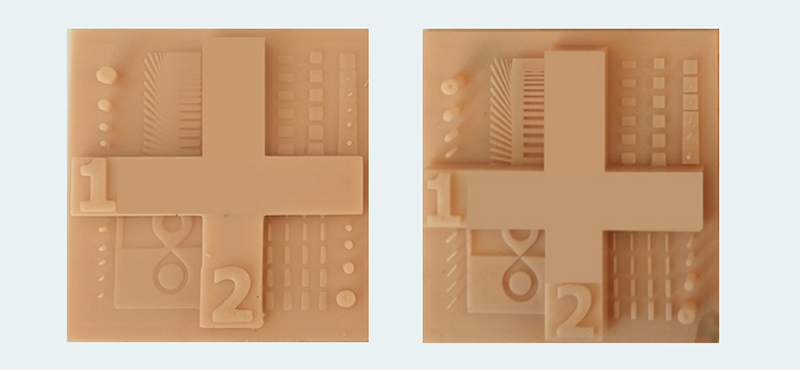
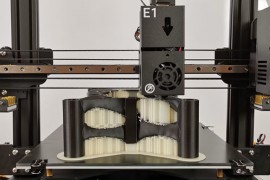
Image 2: Model with excessively long exposure times (left) and model with optimal exposure times (right).
3. If the part has failed or has not cured properly, increase the exposure time by 50%, if the time is excessively long, reduce by half.
4. Re-print and re-evaluate as many times as necessary until proper exposure is determined.
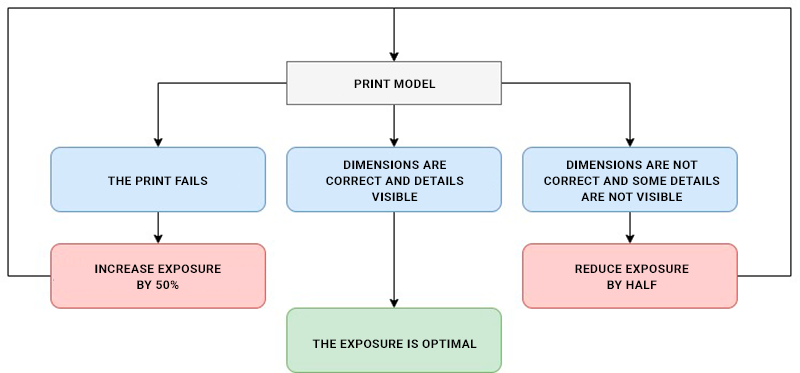
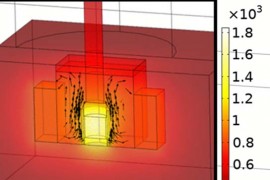
Image 3: Diagram.
Step 2: Determine the correct exposure of the first layers:
To determine the correct exposure of the first layers, print a part with a small contact surface with the platform and reduce the exposure of the first layers progressively until the first layers do not adhere. Once determined, it should be increased by 50 % for the final value.
Step 3: Height and speed of lift:
Generally these parameters are affected by the type of resin, but also by the type of part. To determine the optimum, start with large heights and low speeds. First reduce the height progressively until the part fails and increase this value by 50% to the final value. Once the height has been determined, increase the speed until the part fails and reduce the value by 25% for the final value.
On workpieces requiring high supports, it is advisable to reduce the lifting speed by half to avoid support failures.